
Last updated November 21, 2026
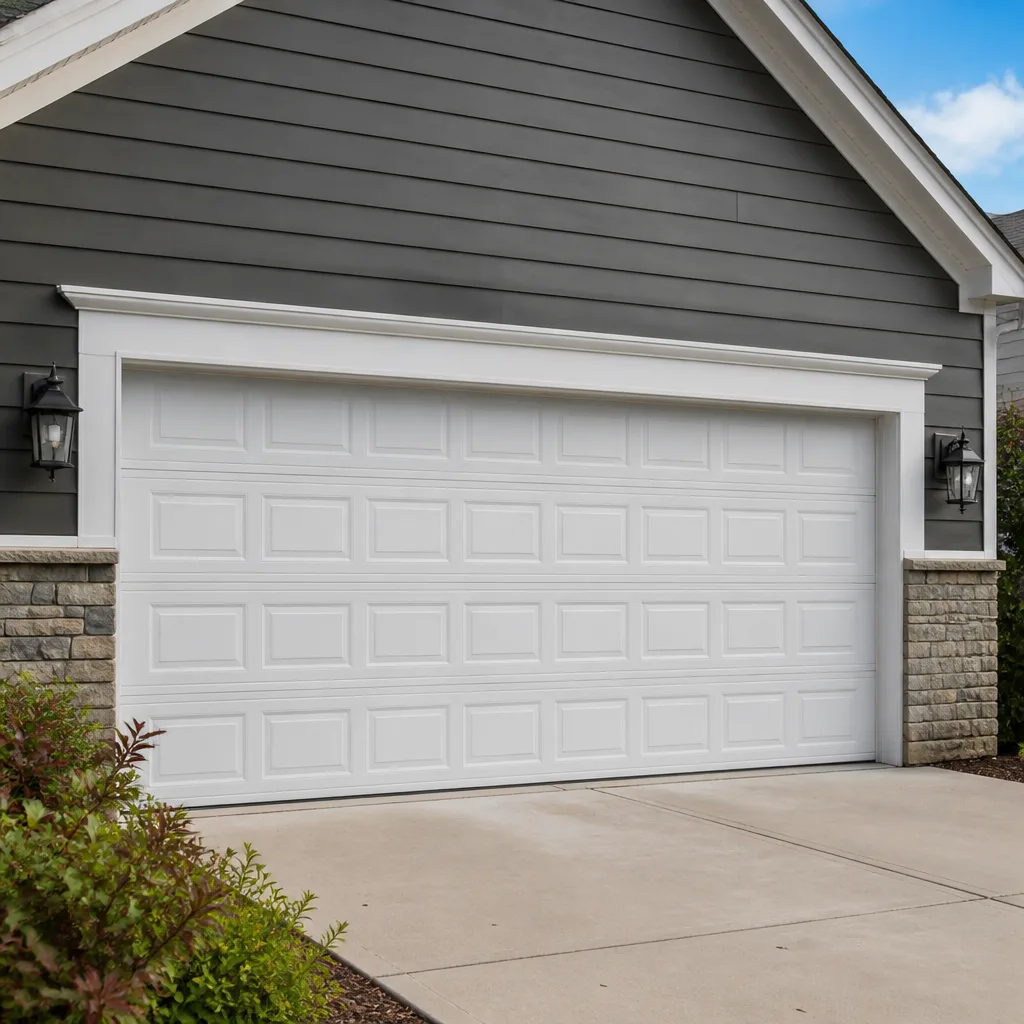 Raised-panel steel
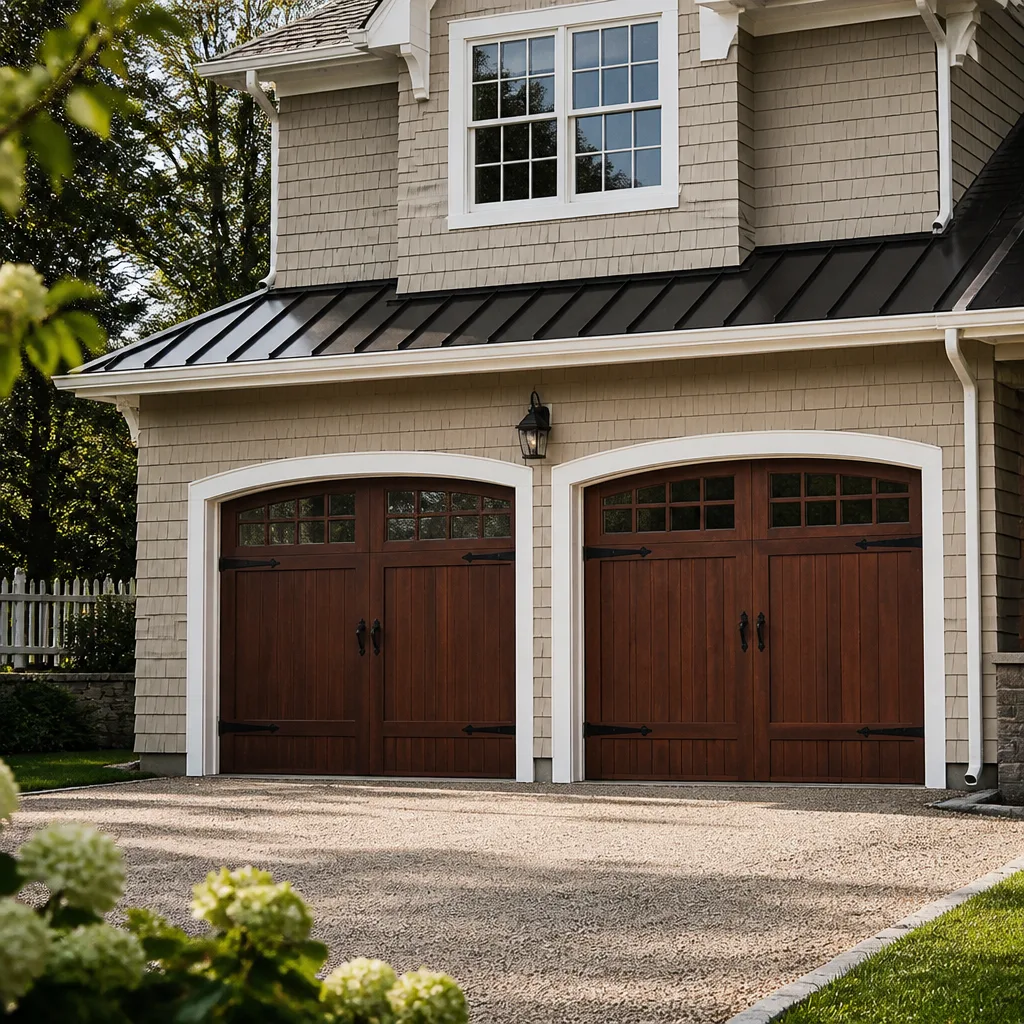 Carriage house
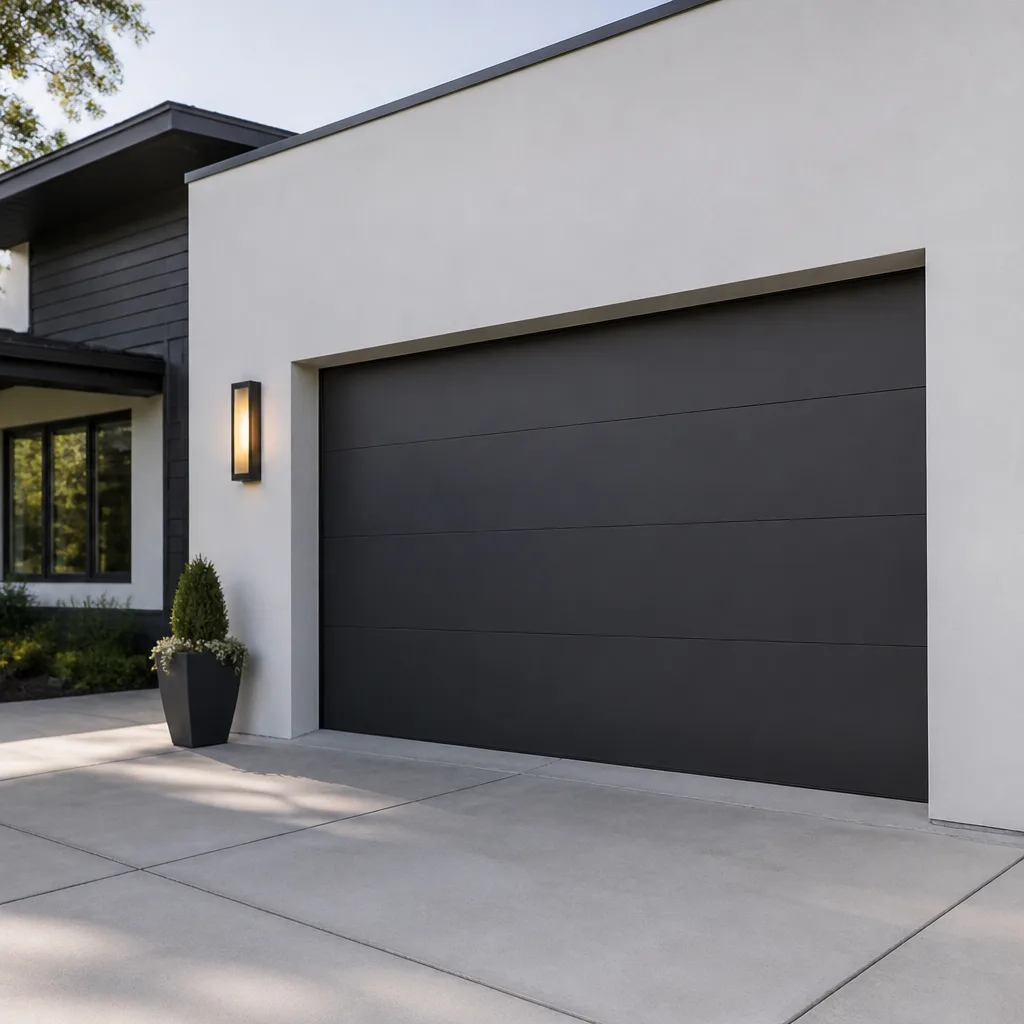 Modern flush
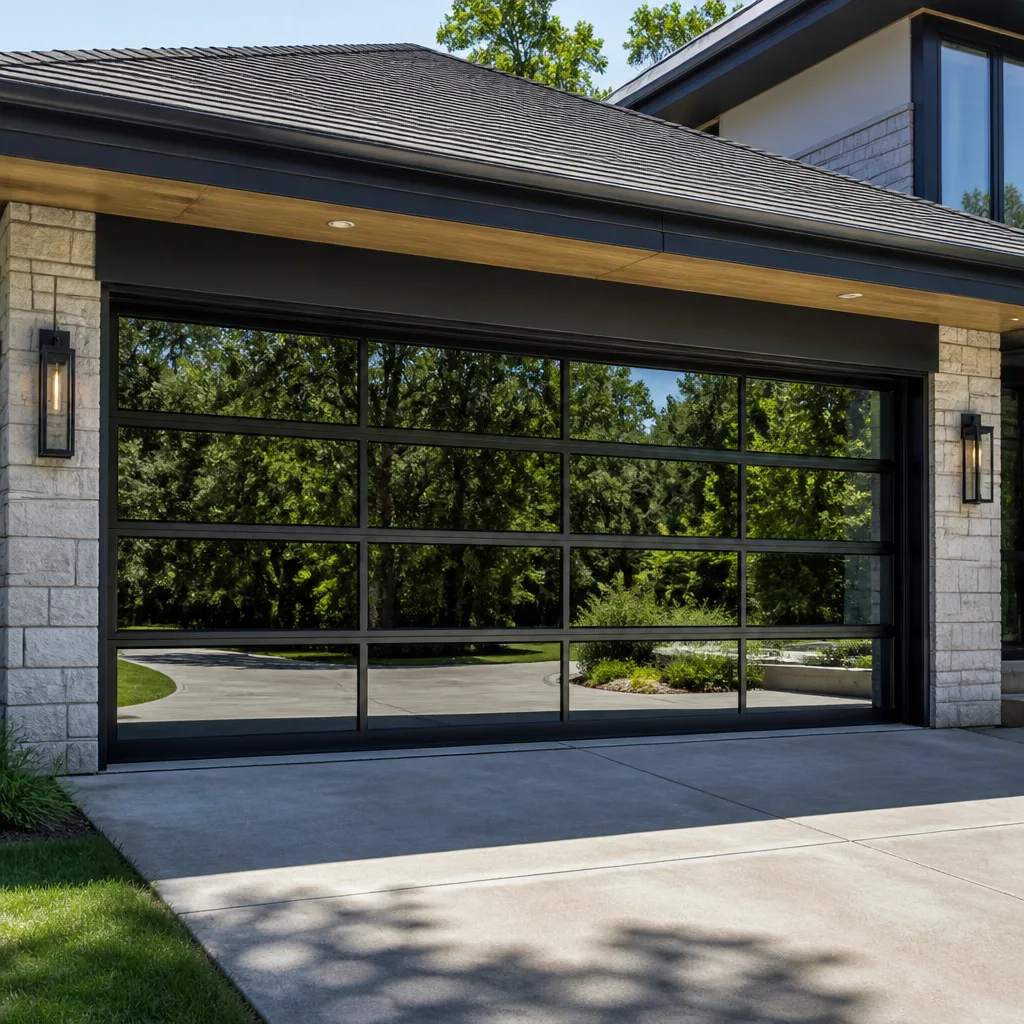 Full-view glass
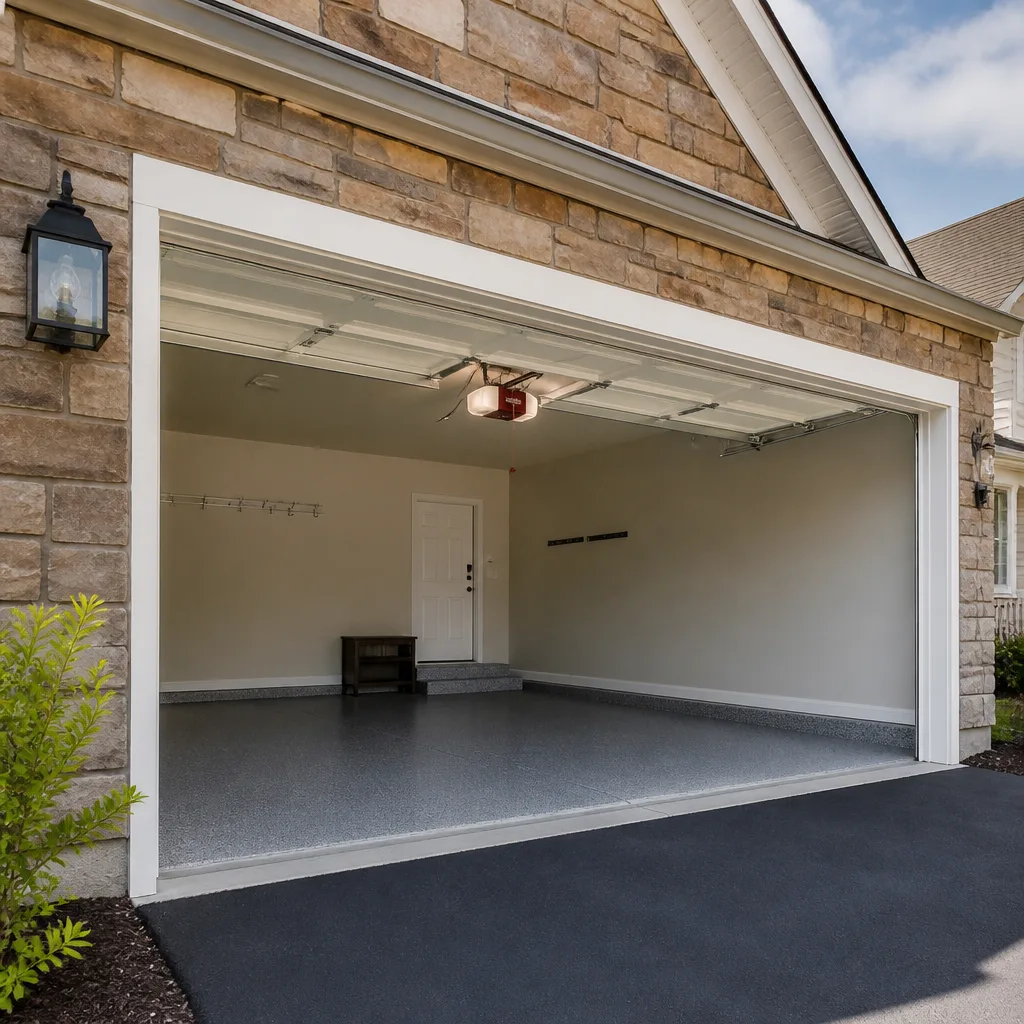 LiftMaster openers
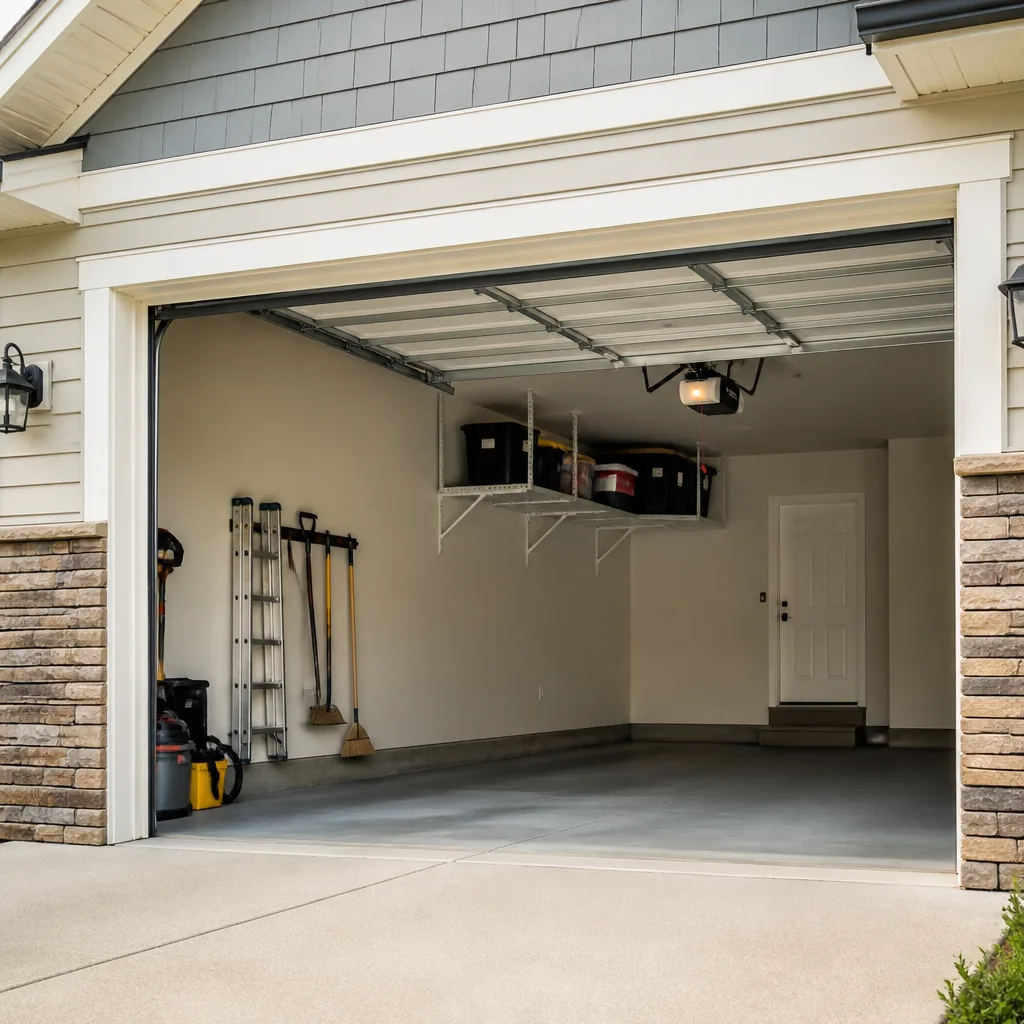 Chamberlain openers
Full 25-point door and opener safety check with every visit - springs, cables, rollers, tracks, and your LiftMaster or Chamberlain opener included
You get a price before we start. It does not change when the pro arrives.
Get your free estimateGarage Door Repair Maintenance Checklist for Greenwood Homeowners
Most garage door emergencies we get called to in Greenwood don’t start with a bang. They start with a small noise, a slight sag, or a door that stops reversing, ignored for weeks. By the time the door quits, the problem has usually been visible from the ground for a long while. This guide is built around that order of failure: what to look at, what to listen for, and when to stop poking and call a professional.
Quick Answer
A home garage door needs a 20-minute inspection twice a year plus lubrication, balancing, and a sensor test. Most serious failures, including snapped torsion springs, worn cables and opener burnout, give visible or audible warning first, so catching them on a scheduled check prevents most emergency calls. Do the check in spring and fall, keep a written log, and never adjust springs or cables yourself.
Styles & brands we work with
- Raised-panel steel
- Carriage house
- Modern flush
- Full-view glass
- LiftMaster openers
- Chamberlain openers
Table of Contents
- Why a Checklist Beats Guesswork in Greenwood
- Testing Spring Tension Without Touching the Springs
- Lubrication Points That Matter (and the Ones That Don’t)
- Testing Auto-Reverse and Photo-Eye Sensors
- Cable, Roller and Track Wear You Can See From the Ground
- Seasonal Checklist for Indiana Summers and Winters
- Building a Dated Maintenance Log for Resale and Insurance
- Opener Checks, Including LiftMaster and Chamberlain Units
Why a Checklist Beats Guesswork in Greenwood
Garage doors fail in a predictable order. Springs lose tension slowly, cables fray before they snap, rollers grind before they seize, and the opener’s gear wears until the door stops moving. If you inspect in that order, you catch problems before they become repair emergencies. Most Greenwood homes were built with doors mounted on torsion springs, so that’s the first item on the list.
Greenwood’s climate is hard on a garage door system. The temperature swings here range from near zero in January to the upper 80s and humid in July, and that expansion and contraction works on metal and on the door’s moving joints. Summer humidity swells wood door panels and stiffens old weather seals. Winter cold stiffens grease that was already marginal. The spring takes the worst of it, because it’s under constant load and stretches hundreds of times a season.
What most homeowners miss is that the door’s hinges, rollers and end brackets are all doing double duty they never signed up for when the spring starts losing strength. A weakening spring forces the opener to work harder, which wears the drive gear and strains the motor. So a spring problem quietly turns into an opener problem. A 20-minute inspection in spring and another in fall is enough to interrupt that chain.
The checklist below is written so anyone in Greenwood with a flashlight, a screwdriver and a can of the right lubricant can complete it from the ground. Nothing on it requires you to touch a spring, a cable, a track adjustment or an opener’s internal parts.
Testing Spring Tension Without Touching the Springs
You can tell whether a torsion spring has lost tension by looking and by lifting. Stand outside the garage and study the spring coil above the door. A healthy spring holds the door roughly mid-travel when you manually lift it and let go. If the door feels heavy, drops faster than you’d expect, or won’t stay up at roughly waist height when you disconnect the opener, the spring has lost tension and it’s time to call for a professional inspection.
The safe test, in order:
- Look at the coil. A stretched, unevenly wound or visibly deformed spring is a warning sign. Never touch it, never spray it with anything, and never try to measure the gap.
- Disconnect the opener. Pull the emergency release handle (usually a red cord) so the door moves by hand, not by motor. This is how the manufacturer intended you to check balance.
- Lift to about waist height. The door should stay roughly where you put it. If it feels heavy or falls, spring tension is low.
- Reconnect and listen. A loud bang from the spring area, or a pop at the top of the door travel, means the spring is already compromised and shouldn’t be cycled anymore. Call a spring specialist.
The reason we’re firm about this: torsion springs are under extreme tension and are one of the most dangerous components on any home. Homeowners get hurt every year reaching for a winding bar and a YouTube tutorial. A trained technician winds and unwinds springs with the correct bars and controlled release, and it’s a job we handle as a dedicated service for exactly that reason. Greenwood’s mid-continent temperature swings are one of the reasons springs wear faster for us than in milder markets.
Lubrication Points That Matter (and the Ones That Don’t)
Not every moving part on a garage door wants the same product. Lubricating some parts and not others wastes the effort and can even attract grit. Use a silicone-based or lithium-complex grease on springs and hinges, and a light silicone spray on rollers, tracks and the opener chain.
A quick-reference table:
- Yes to lube: torsion spring coils (a light spray on the coil is fine and won’t hurt it – but never while turning a spring), hinges at every pivot, roller stems, door lock, opener chain or belt.
- Yes, sparingly: the curved track section, side rollers and corner metal-to-metal contact points.
- Skip it: nylon or plastic rollers (they don’t need lubricant and can break down), the inside of the track where the rollers ride (it should be clean, not greasy), and the door’s weather seal (use a rubber-safe dressing, not grease).
Indiana’s seasons shape which product matters. A heavier lithium-complex grease holds up better in summer humidity but can stiffen in January cold. A silicone spray stays fluid across both, but wears off faster in summer. A reasonable Southside Greenwood routine is silicone spray in the spring, a heavier grease in the fall on any indoor component like the opener chain. Don’t over-apply. A light film is right; a dripping mess is not.
Spend five minutes max on lubrication per door. If you feel the door still catching or grinding after the lube, the issue is mechanical, not lubrication. That’s the point at which a ladder, a flashlight and a phone call make more sense than another can of spray. A free estimate from a garage door repair specialist will tell you quickly whether the issue is a roller, a hinge or something deeper.
Testing Auto-Reverse and Photo-Eye Sensors
The auto-reverse test is the single most important safety check on your door. A door that stops and reverses when it hits something, and stops and reverses when the photo-eye beam is broken, is doing its job. A door that doesn’t pass is a serious safety issue, particularly in homes with kids or pets, and shouldn’t be left unrepaired.
Do the tests in this order:
- Photo-eye test. With the door open, wave a hand or a long object through the invisible beam between the two small sensors near the floor. The door should stop reversing or the opener should tell you it detected an obstruction. Check both sensors – the sending eye and the receiving eye should have solid indicator lights. A blinking or dark light usually means misalignment or debris on the lens.
- Auto-reverse test. Place a 2×4 board (or a rolled towel for a lighter contact) flat on the floor under the closing door. Close the door using the wall button and stand clear. The door should stop and reverse when it meets the obstruction. If it presses down and keeps going, the opener’s force setting is off or the mechanism is failing. Don’t use your own foot or hand for this.
- Force-setting sanity check. A door that reverses too easily (false reverse triggers) or not at all is telling you the opener’s force limits are set wrong. Only a technician should adjust those. Opening the opener housing on a LiftMaster or Chamberlain unit yourself is a warranty issue and, on older units, a shock hazard.
If a sensor fails its test, look for dirt or a knocked bracket before assuming it’s dead. A Greenwood windstorm pushing a fallen branch into the mounting bracket is a common cause. If the sensor light stays dark after cleaning the lens and straightening the bracket by eye, call for garage door opener repair.
Cable, Roller and Track Wear You Can See From the Ground
Cables are the second thing to fail after springs, and they’re visible from the ground if you know what to look for. A frayed cable is a cable about to snap. Stand back from the door and look at the cables running up each side of the door to the spring drum. What you want to see: tight, evenly wound, no visible fraying, no rust bloom, no kink.
Warning signs from the ground:
- Frayed or bird-caged cable. The wires have separated and kinked. Dangerous – a snapping cable whips. Don’t touch the door and call a professional.
- Rollers skating or grinding. Rollers should turn freely inside the track. A roller that has stopped spinning or looks flat on one side needs replacing. Plastic rollers wear out; sealed steel rollers last longer.
- Track dents or misalignment. The door should ride centered in the track with a small gap on each side. A bent track or a door tilted visibly at one corner says the door has been hit or one side’s hardware has failed.
- Rust streaks at hinges. Small rust blooms are cosmetic, but flaking rust at hinge pivots means the hinge is losing strength.
- Door sagging. Measure the top panel’s gap to the header on each side – a visible difference of more than about a quarter inch says one side’s cable or spring is stretched.
What you can fix yourself: wiping the track clean with a damp cloth, tightening hinge screws with a screwdriver, and replacing cosmetic rusty nuts. What you can’t safely do: touch the cables, adjust cable drums, or align the track. Cables carry the same tension as springs and fail the same way.
Seasonal Checklist for Indiana Summers and Winters
The garage door system lives through two distinct stress seasons in Greenwood. Summer is about humidity, expansion, and heat in a closed garage that reaches well above the outdoor temperature. Winter is about contraction, stiff lubricant and ice at the threshold. Each season asks for slightly different attention.
Spring and fall inspections should both cover:
- Balance test (disconnect opener, lift to waist height, door should hold)
- Auto-reverse and photo-eye test
- Cables, rollers and track visual check
- Lubrication of hinges, rollers, spring coil and opener chain
- Weather seal check at the threshold and sides
- Opener force-setting sanity check and test of the wall control
Spring additions specifically for Greenwood:
- Clear winter grime from the track and threshold with a damp cloth
- Check the bottom weather seal for cracks after freeze-thaw cycles
- Look at door panels for any swelling at the bottom edge (wood doors)
- Test the door’s manual release and rehearse how to use it during a power outage
Fall additions specifically for Greenwood:
- Switch to the heavier grease if you use one on the opener chain
- Confirm the photo-eye lens is clear before shorter daylight hours
- Check for popped or loose hinge screws after summer heat expansion cycles
- Clear leaves and debris from the track and the threshold so winter ice doesn’t trap the door
Indiana winters bring freeze-thaw cycles that work on the door’s seal and the bottom of the door itself. Water freezing at the door’s base can lift the bottom panel or crack the seal, which lets cold air and moisture into the garage. If your garage door faces a driveway with any slope, water pools at the threshold and the seal gets the worst of it. That’s a maintenance item, not an emergency – but replacing a worn seal is far cheaper than replacing a water-damaged bottom section.
Building a Dated Maintenance Log for Resale and Insurance
A written maintenance log does two things: it reminds you what was checked when, and it gives you a clean paper trail if you sell the house or file an insurance claim after a garage fire or a storm. Any homeowner can keep one in a notebook or as a spreadsheet, and it takes two minutes per inspection.
Columns to keep:
- Date of inspection
- Inspector (yourself, or the technician and company name)
- Item checked (spring, cables, sensors, lube, opener test)
- Result (pass / warning / repaired)
- Work performed and parts replaced
- Cost
- Notes on anything to recheck at the next visit
When a garage door is professionally serviced, the technician should be able to hand you a written service record or leave one attached to the opener housing. Keep it. When a home in Greenwood goes on the market, a buyer’s inspector will usually test the door’s safety reverse and may note a worn spring or a stale seal. A maintenance log showing routine upkeep doesn’t replace an inspection, but it does give the buyer and the title company an easy answer to the inevitable “when was this last serviced?” question.
For insurance, a garage fire or a water-damaged door install is where logs matter most. Insurers want to see that the equipment was maintained in working order and that any repair was done by a qualified professional. A simple log, plus a stack of technician service records, tells that story without argument.
Opener Checks, Including LiftMaster and Chamberlain Units
The opener isn’t usually the first thing to fail, but it’s the easiest thing to accidentally strain. A door with a weakening spring, stiff weather seal or bent track can put more load on the opener than its manufacturer designed for. Before blaming the opener for a door that won’t open, do the balance test. If the door won’t hold at waist height, the opener was never the real problem.
Safe checks anyone can do from the ground:
- Wall control test. Press the wall button – the door should open with the light on and the opener should be silent apart from the motor. A control that beeps and doesn’t move is one problem; a control that does nothing is a different one.
- Remote test. Confirm the remote works from a few feet away and that its battery isn’t flat.
- Chain or belt tension check. It should have a small amount of slack – not tight like a guitar string, not sagging onto the door. Never adjust the tension yourself; on many units that’s a return-spring setting.
- Safety sensor repeat. The photo-eye test belongs here too – your opener’s sensors are the ones that matter.
Common brand-specific issues we work with: LiftMaster and Chamberlain units share a lot of internal design, so a familiar error code on either one is usually traceable. Genie units have their own force-adjustment quirks. Whatever your unit, the checks above are safe to run from the ground. What’s not safe is opening the housing, adjusting force, or reprogramming without knowing the model’s manual. That’s the moment to call us for garage door opener repair.
Common Mistakes to Avoid
- Spraying grease on a spring while it’s still loaded and trying to “work it in.” Never touch a loaded spring. Lubricant on the coil is fine, but only with the door down and the spring at rest – and only if you’re not trying to adjust anything.
- Adjusting the opener’s force setting to make the door close. Pushing force up to close a door that used to close easily hides a real problem – usually a worn spring, a sticky track or a bad cable. That’s the setup for a door coming down on a child. Adjusting force on any consumer opener should be left to a technician.
- Using WD-40 as a door lubricant. It’s a moisture displacer, not a door lubricant. It’ll quiet the noise for a week and then leave a sticky residue that grabs dust. Use silicone spray or lithium grease.
- Replacing a single spring instead of a matched pair. Springs are paired for a reason: a new spring next to an old one puts uneven load on the door, which is why a matched pair gets replaced together. That’s also why a pair costs roughly twice a single spring.
- Reading “cost savings” into ignoring the fall inspection. Skipping the fall check in Greenwood often means a spring that’s about to snap gets its chance to do it in January, when you least want an emergency call.
- Assuming a door that “opens fine” passes its safety test. Many failing doors open and close normally every day. The auto-reverse and photo-eye test is the only way to know the door will reverse if it needs to.
- Standing under the door’s travel path during testing. Obvious in retrospect; easy to forget when you’re holding a 2×4 and pressing a wall button. Keep the area under the door clear, especially during the reverse test.
See the difference
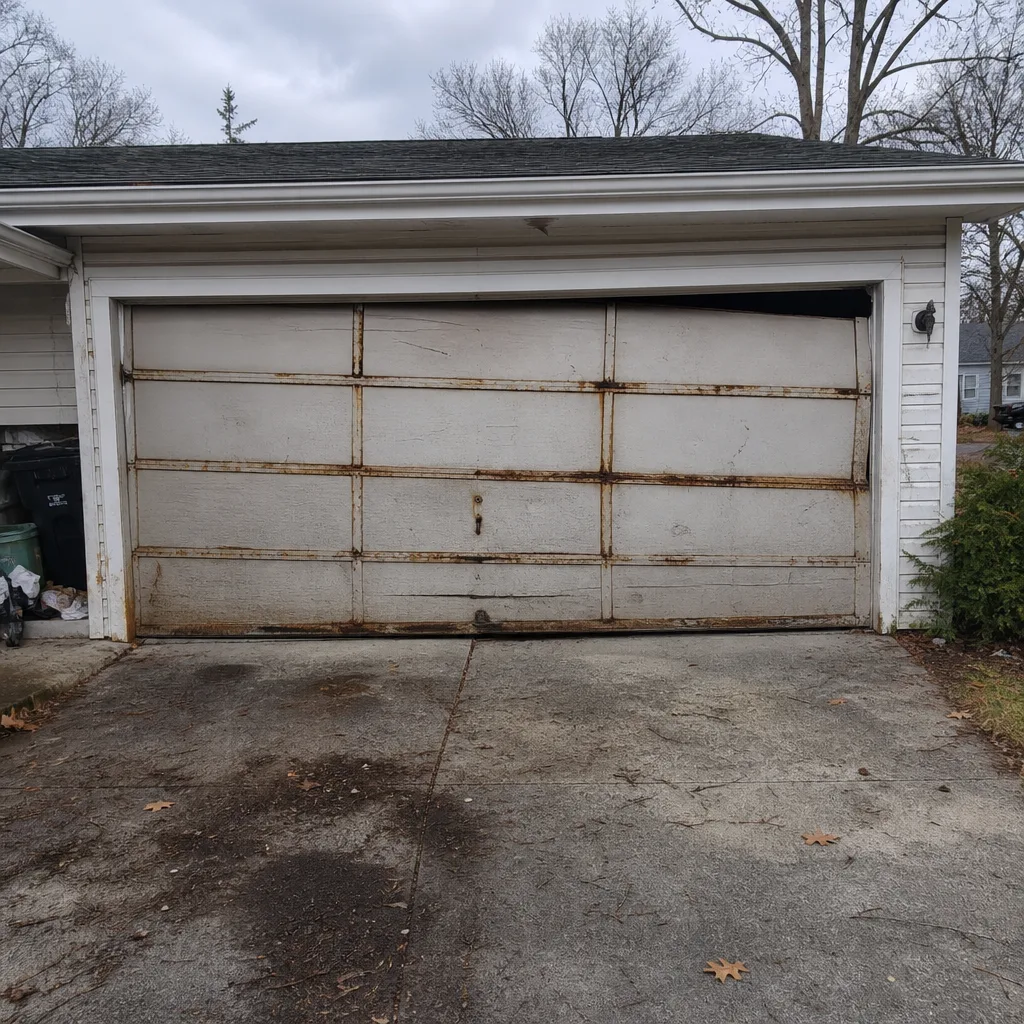 Before
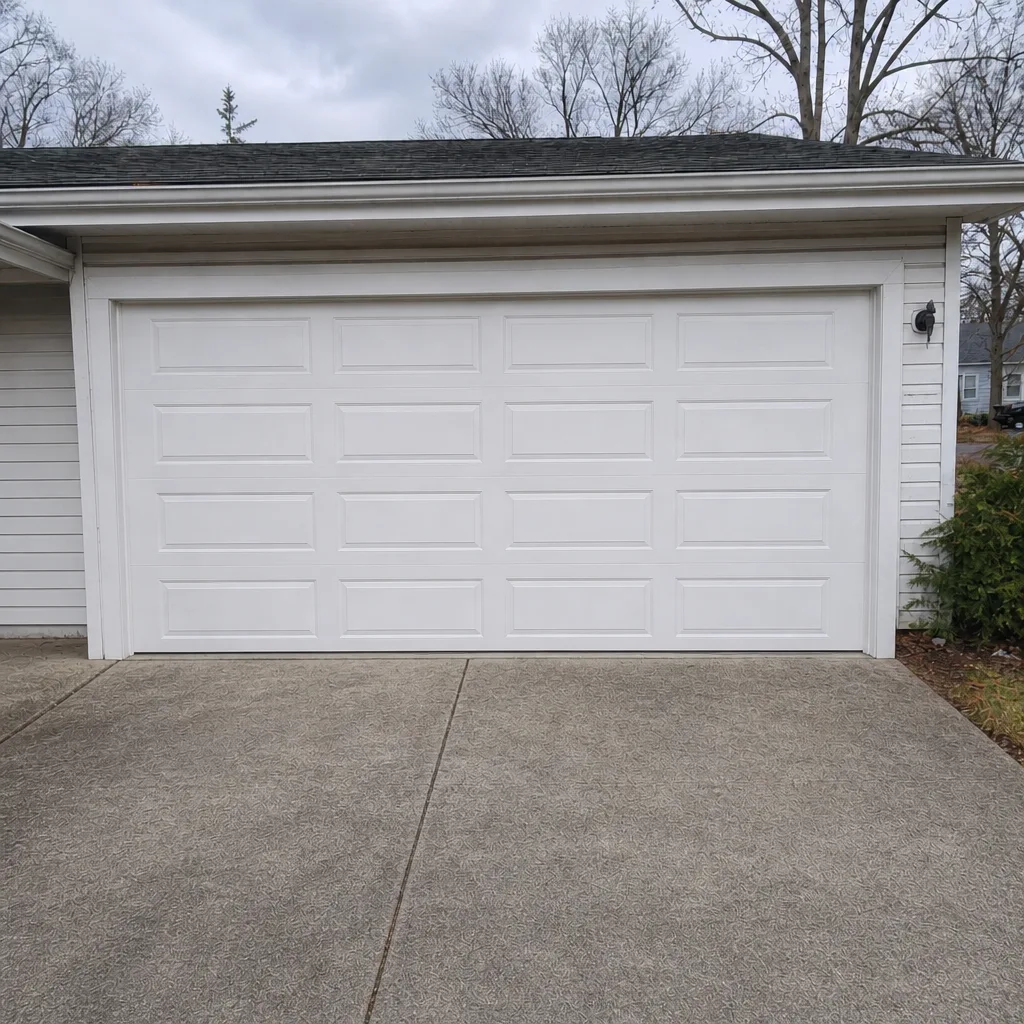 After
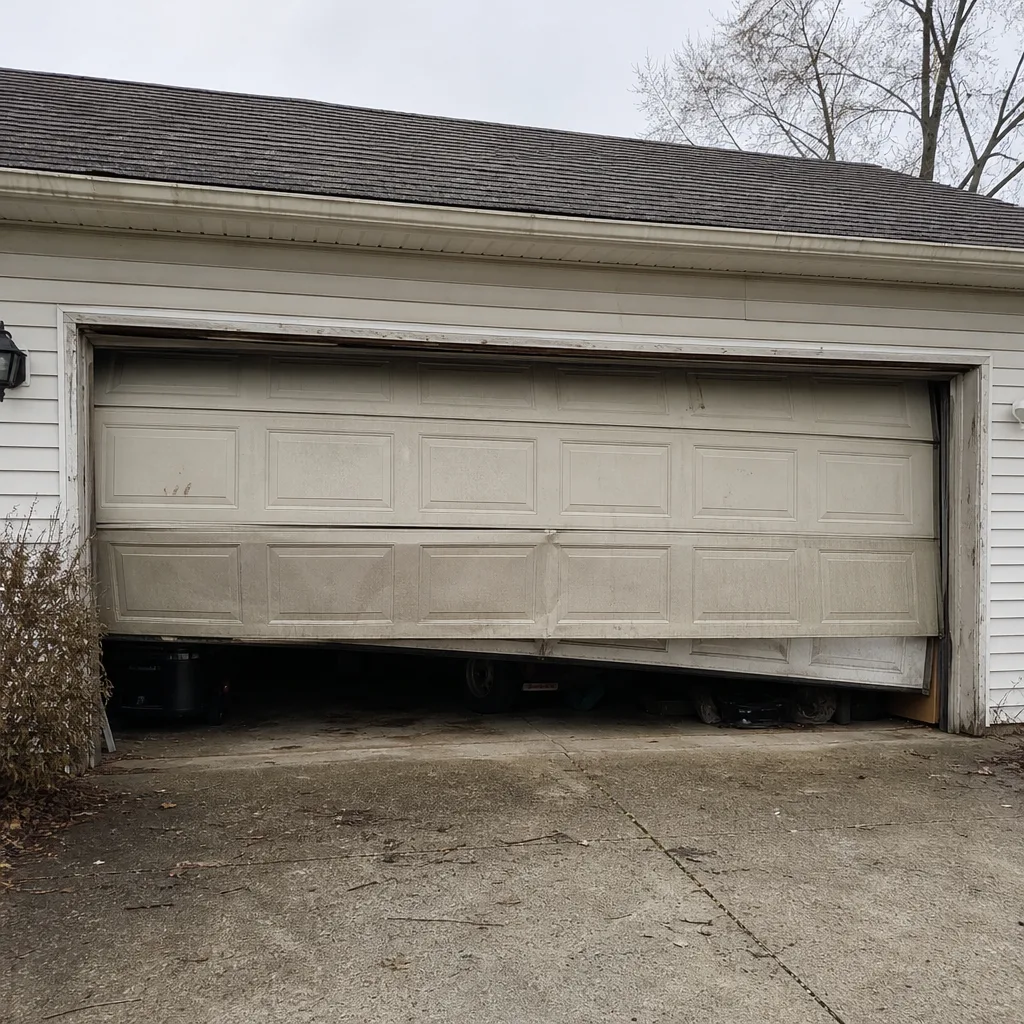 Before
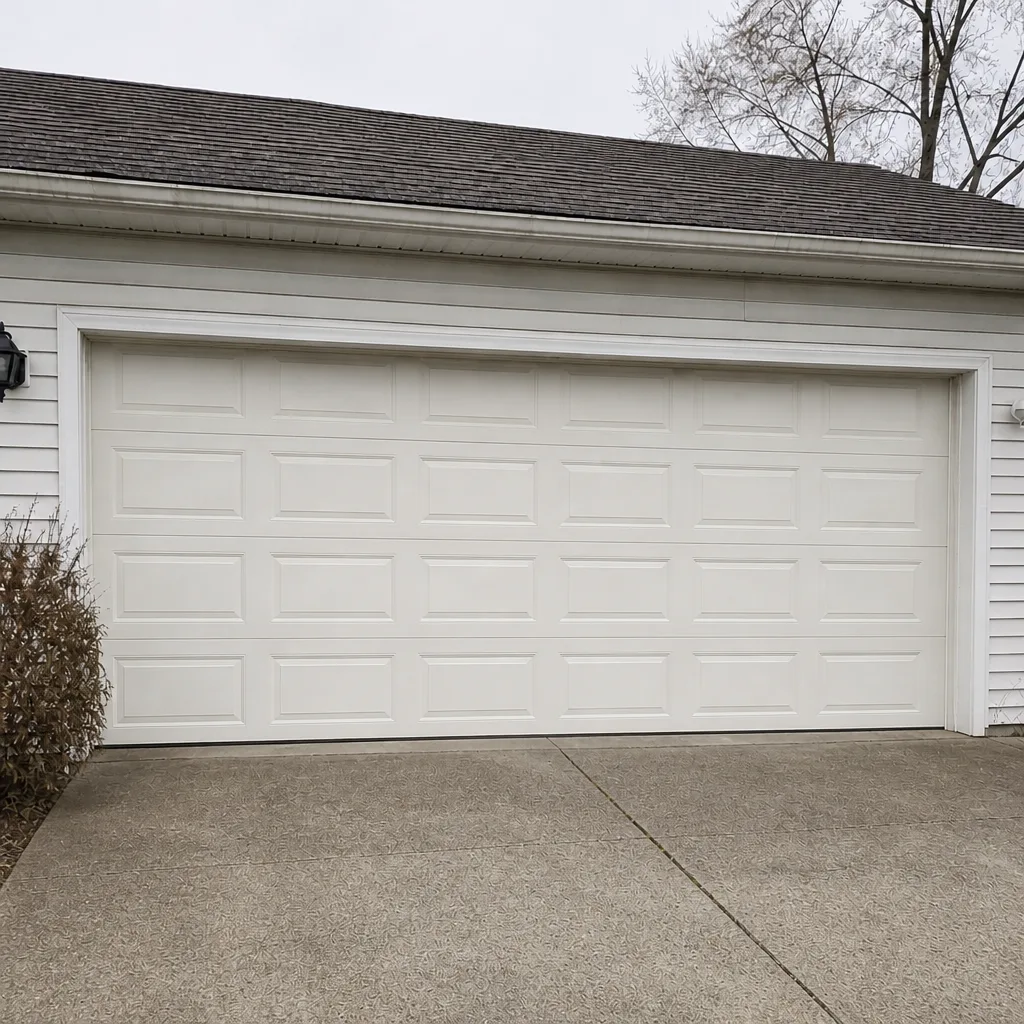 After
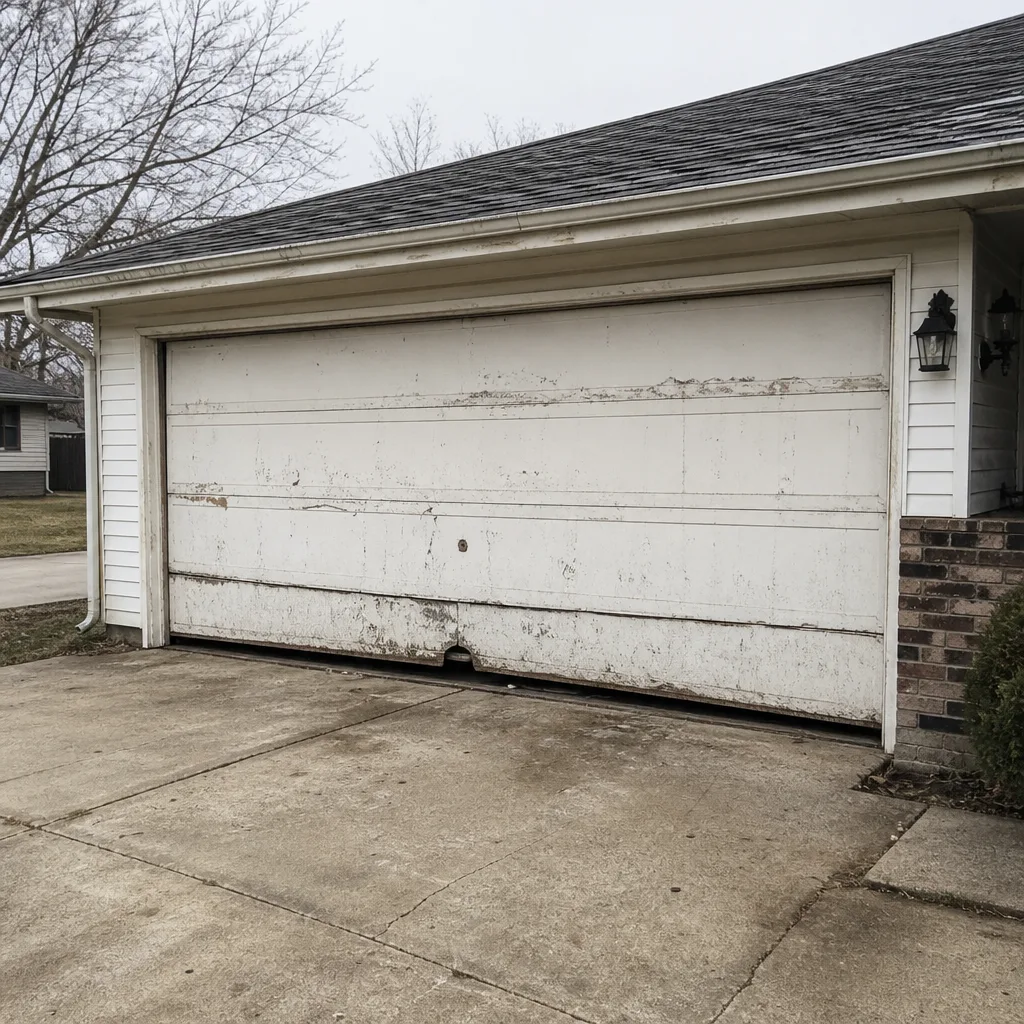 Before
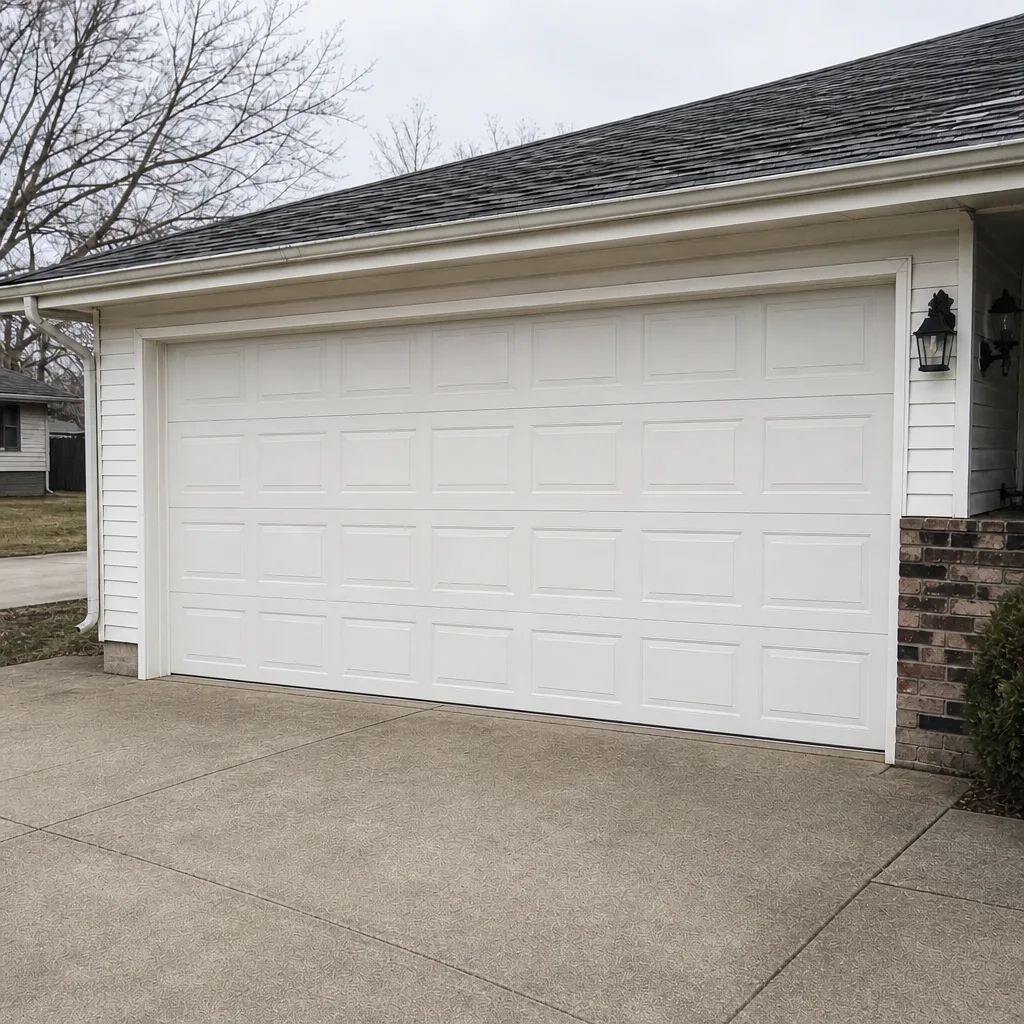 After
When to Call a Professional
Call a professional when the spring has lost tension, when a cable is visibly frayed, when the door won’t reverse on the obstruction test, when the door rides crooked in the track, or when the opener won’t respond to a working wall control. None of these should be DIY projects, and none of them should wait. The spring and cable are the two most dangerous components on any garage door, and any task that involves winding, unwinding or adjusting them is a trained-professional job.
If your door won’t open, or a component is under obvious strain, that’s an emergency call. We work on LiftMaster, Chamberlain, Genie, Clopay, Amarr, Wayne Dalton, Craftsman and Raynor systems, and our technicians have up to 13 years of experience. Greenwood Garage Door Repair Pros offers free estimates in Greenwood. Call (866) 876-9721. We answer 24/7. Fast dispatch from 7am to 7pm, Sunday through Friday.
Frequently Asked Questions
Routine maintenance is a per-job service set by a written estimate after we look at the door, so we don’t quote a flat fee from the phone. On a door that needs more than an inspection, a typical spring repair runs roughly one range per single spring and about twice that for a matched pair, and a service call on the opener is a separate line. The written estimate is the price, and it’s agreed before any work starts. Call (866) 876-9721 for an exact quote – estimates are free.
Twice a year, in spring and fall, plus a quick visual walk-around any time the door starts making a new noise or feels heavy to lift. The spring and sensor checks are quick; the lubrication check takes five minutes. Homeowners with a wood door or a door facing a sloping driveway should add one extra check of the bottom seal after any freeze-thaw week.
Yes, with the door fully down and the spring fully at rest, a light spray of silicone on the coil is safe and helps. Never touch, wind or adjust a torsion spring yourself – springs under load are extremely dangerous, and the wrong move can release stored energy. That’s a job for a trained technician, and it’s why we treat garage door spring repair as its own specialized service.
Broken torsion springs are by far the most common emergency we get called to, usually after weeks of small noises and a door that starts closing harder than it opens. Frayed cables, worn rollers and opener strain follow. Indiana’s freeze-thaw cycles also wear the bottom weather seal faster than in milder climates, which is a maintenance item more than an emergency.
Not after the estimate is written and agreed. The written estimate is the final price for the job, and we confirm the price with you before any work begins. If the inspection turns up something that wasn’t part of the original quote, we talk it through with you first – we don’t start and then add to the invoice. Call (866) 876-9721 for a free estimate.
Spring repair is an emergency service we handle same day whenever the schedule allows – call us and we’ll tell you honestly what’s possible for your door. Our technicians carry the winding tools and spring stock needed for most residential doors, so most spring repairs are done in a single visit. Call (866) 876-9721. We answer 24/7. Fast dispatch from 7am to 7pm, Sunday through Friday.
The Bottom Line
A Greenwood garage door fails in a predictable order: spring tension goes first, then cables and rollers, then the opener. Run the 20-minute check twice a year – spring balance test, sensor test, cables and rollers from the ground, and lubrication – and you’ll catch most of the failures that would otherwise become emergency calls. Stop at the springs and cables: those are always a professional’s job. Keep a written log for resale and insurance, and call us before a small noise becomes a broken door. When the repair can’t wait, Greenwood Garage Door Repair Pros handles garage door repair across the trade – Greenwood Garage Door Repair Pros is one call away.
Written by the team at Greenwood Garage Door Repair Pros.